




 " />
" />【 WeChat QR code consultation】
+86 13698775878
Proper geomembrane installation is what turns a roll of HDPE sheet into a waterproof liner that performs for decades. Whether you are building a fish pond, a reservoir, a landfill cell or a mining heap pad, the construction quality of the liner decides whether it leaks or not. This guide walks you through the complete geomembrane construction process, from subgrade preparation to final weld testing, based on our daily work supplying and installing HDPE liners on real projects.
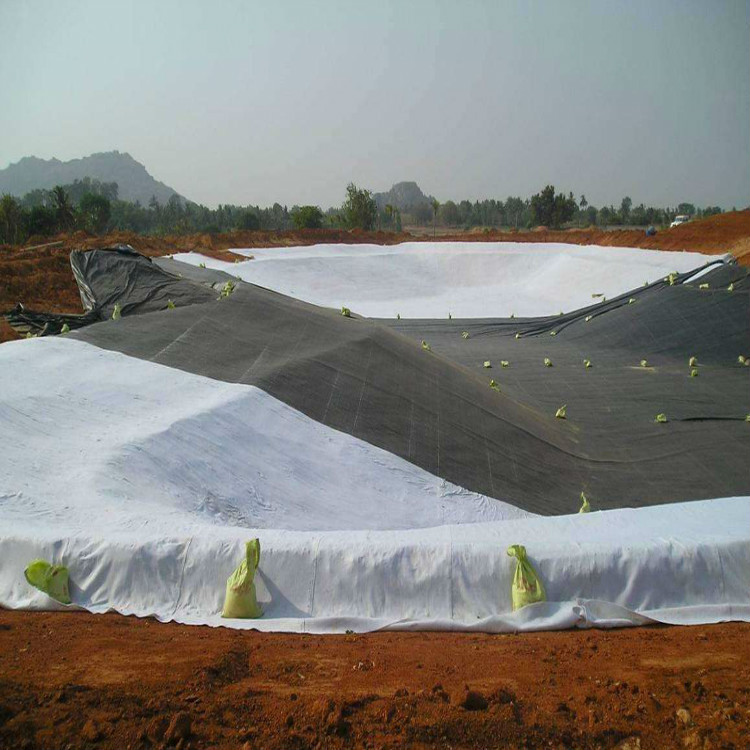
Before any HDPE geomembrane panel is unrolled, the subgrade must be smooth, compacted and free of sharp stones, roots, glass or metal debris. A base that has not been properly compacted will settle after the liner is in place and tear the membrane under tension. As a rule of thumb, compact the base to at least 95% density and keep the surface level within about 25 mm per 5 m. On rocky or sandy ground, lay a non-woven geotextile cushion (150 g/m² or heavier) between the soil and the liner to reduce puncture risk.
Plan the panel layout before you open the rolls. Weld seams should run parallel to the slope direction wherever possible, and panels should overlap by 100–150 mm for welding. In hot weather allow a small slack (about 1–2%) so the liner does not pull away from the base after it cools and contracts. Always unroll the membrane gently and anchor it temporarily with sandbags so wind cannot lift and crease it.
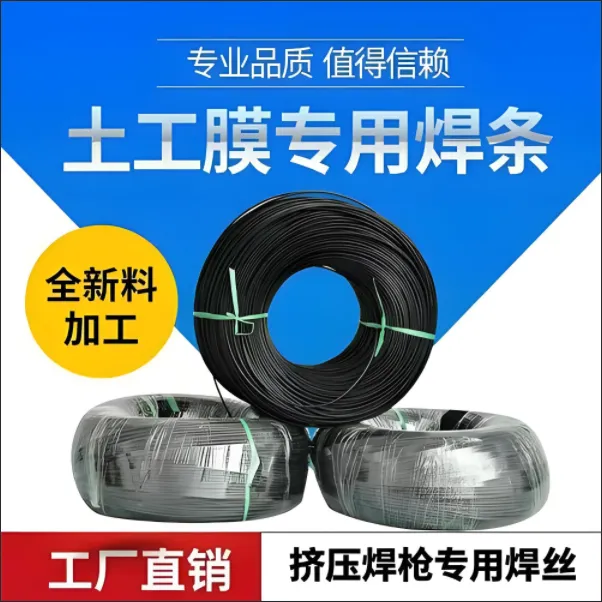
Two welding methods dominate geomembrane construction: thermal wedge welding for long straight seams, and extrusion welding for repairs, patches, corners and T-joints. For extrusion welding you need a quality HDPE geomembrane welding rod that matches the liner grade. The welding temperature, speed and pressure must be tuned to the membrane thickness and the ambient temperature — weld too fast and the seam will be weak, weld too hot and the material will degrade.
Every weld seam should be tested before backfilling. Non-destructive tests, such as air pressure tests and vacuum box tests, check the seam for leaks along its full length. Destructive tests take a sample of the weld and pull it until it breaks to confirm the weld strength meets the material standard. Repairs must be done with fresh liner offcuts or composite geomembrane patch material, never with reused scraps.
The most frequent mistakes we see on site are: ignoring subgrade sharp objects, unrolling and welding in windy weather, setting the wrong welding temperature, and backfilling before the weld test results come back. All of them are avoidable with a proper site plan and an experienced installation crew.
Correct geomembrane installation extends the life of your liner and prevents expensive leaks. If you are planning a pond, reservoir, landfill or mining project, we supply HDPE geomembrane, welding rod and provide on-site installation guidance. For a broader overview of the material itself, read our HDPE Geomembrane Complete Guide and the Geomembrane Welding Rod Selection Guide.
Scan code consultation

 English