




 " />
" />【 WeChat QR code consultation】
+86 13698775878
An HDPE geomembrane pond liner provides reliable water retention for fish ponds, irrigation reservoirs and ornamental water features. Correct installation is essential for a leak-free result. This guide covers the main installation steps.
Shape the pond basin and compact the soil surface. Remove stones, roots and sharp objects from the floor and side slopes. A smooth subgrade protects the liner from punctures during installation and service.
Place a non-woven geotextile cushion over the basin surface. The cushion absorbs local pressure and reduces the puncture risk. Overlap the geotextile edges by at least 300 mm and fix them lightly to keep the layer in position.
Unroll the geomembrane panels and allow them to relax in the sun. Start from the bottom and work up the slopes, leaving enough slack for the liner to follow the basin shape. Avoid dragging the membrane over rough edges.
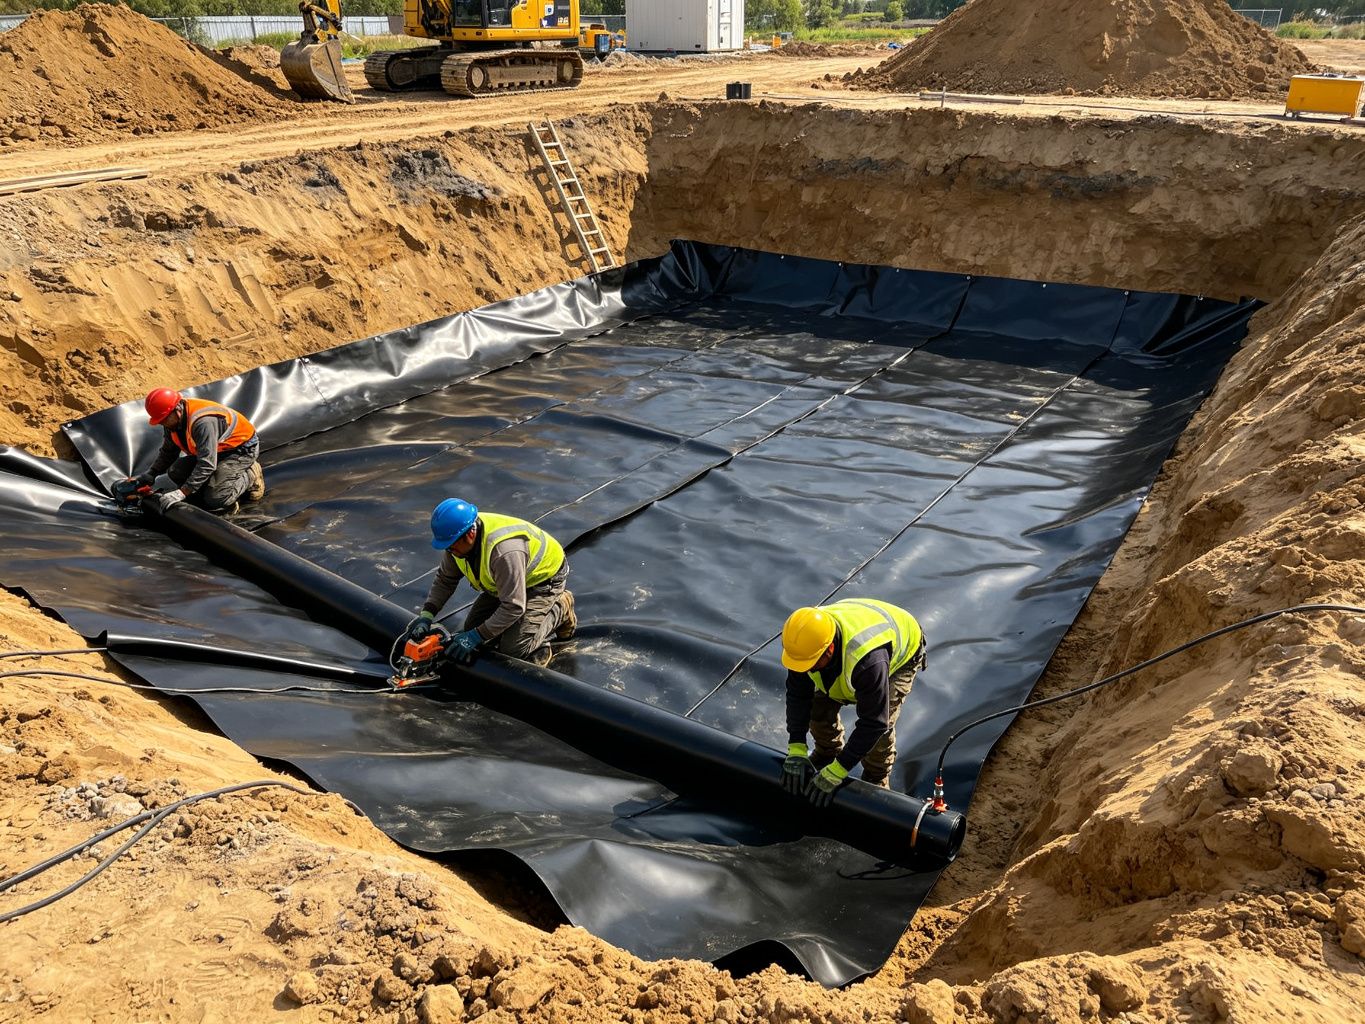
Weld the overlapping panels with a hot wedge welder. Adjust the temperature and speed according to the membrane thickness and ambient conditions. Test the seams as the work progresses to confirm the weld quality.
Anchor the liner edge around the pond perimeter with an anchor trench or concrete curb. Fold the liner into the trench and backfill it firmly, so the water level changes do not pull the liner loose.
Fill the pond gradually and watch for any leakage points. Inspect the seams and the edge anchoring after the first filling. For welding parameters and seam testing, refer to our geomembrane welding guide.
Scan code consultation


 English